The Atwood girls are finally catching up! Watch out world these amazing women are the next generation!Annelyse June Atwood arrived a little early as is usual for her very prompt Momma! Both of her siblings were a couple of weeks early also. Weighing in at 6lbs.14 ozs. And 21.25 inches long she is just perfect. I will post a photo as soon as I get one! She joins sister Paisley and brother Sterling. Her quilt is below in Ashlee’s requested colors, pink and teal.
A bright and delightful quilt for our newest baby girl. Congratulations to Mom Ashlee and proud Daddy Daniel. You are doing a great job populating the world with smart, wonderful human beings.
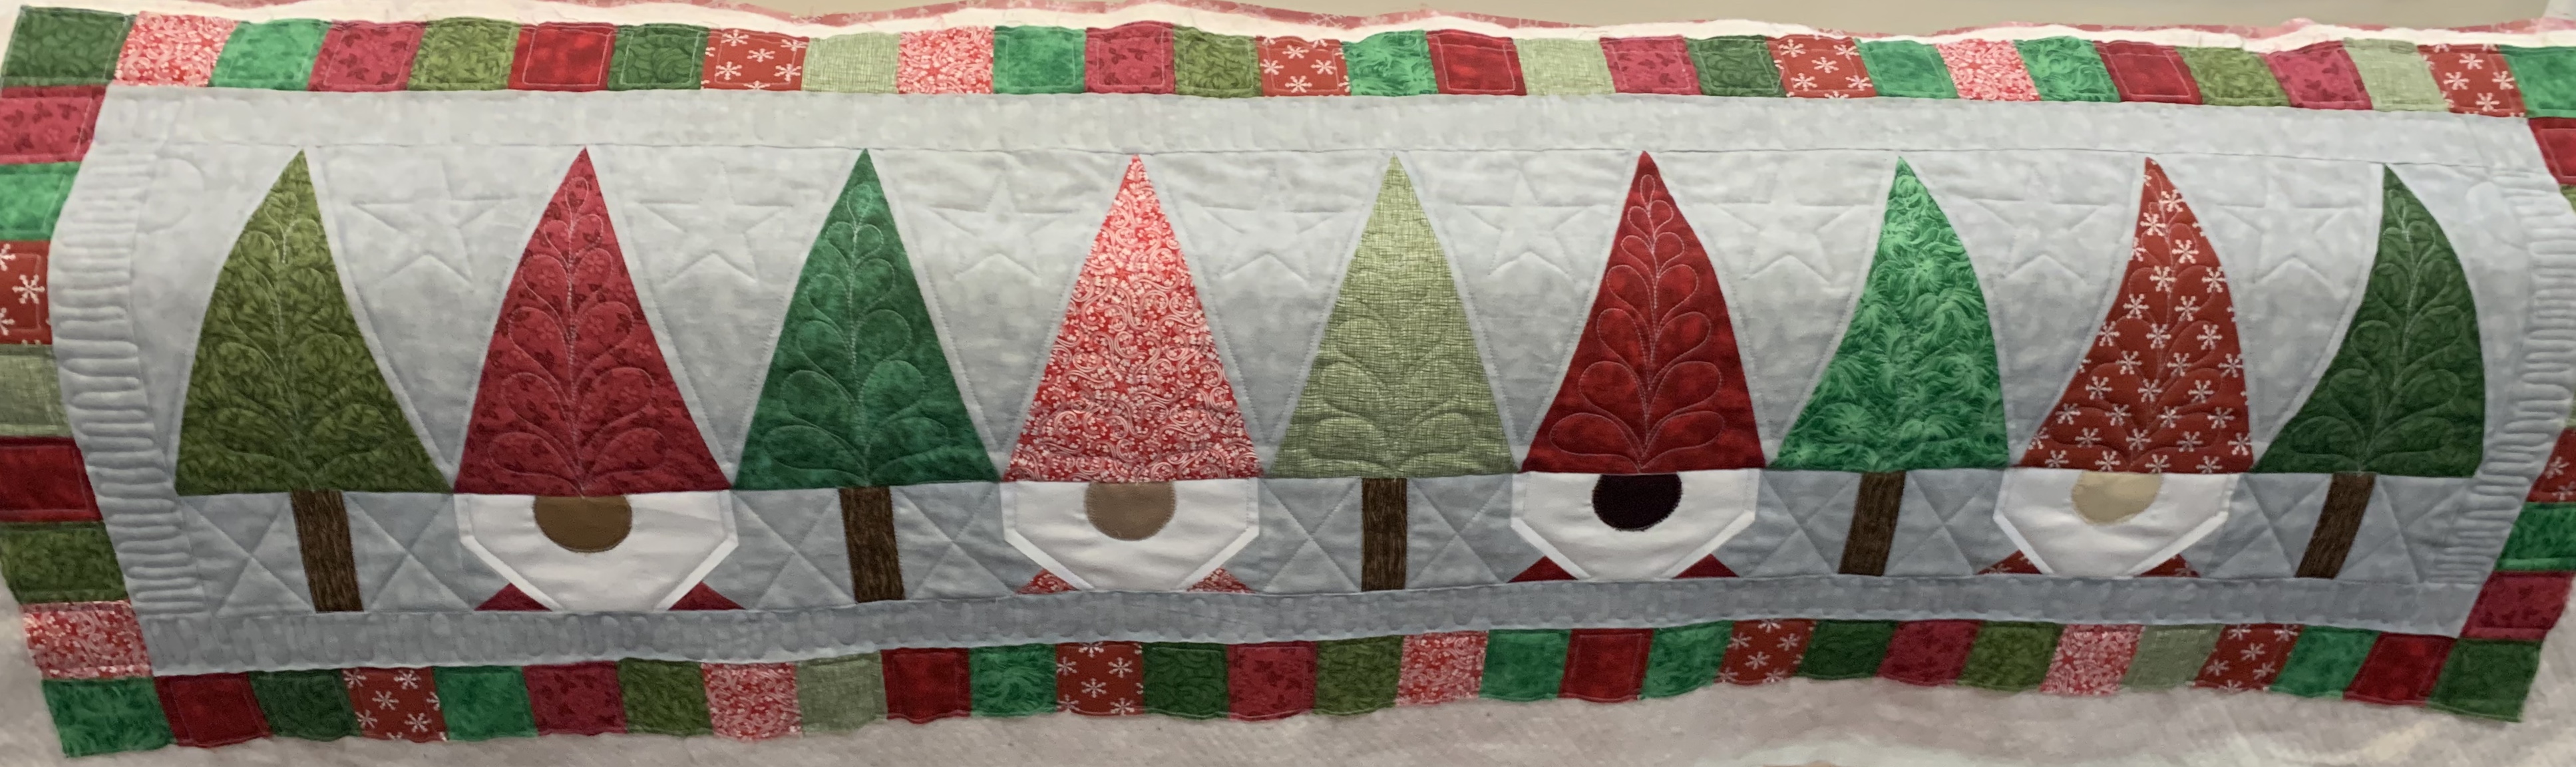
Another baby quilt for a baby girl due next month for extended family members. Mom’s requested colors for Isla Sofia’s quilt are sage/cactus green/tan and dusty pink, I really had no appropriate greens so of course I had to go fabric shopping.
This is a different version of the pink and grey quilt from earlier this month. The 5” squares go together fast and the pink applique flowers, flange and binding make it definitely feminine.
I don’t know of any other babies on the immediate horizon so I may be onto other challenges next.
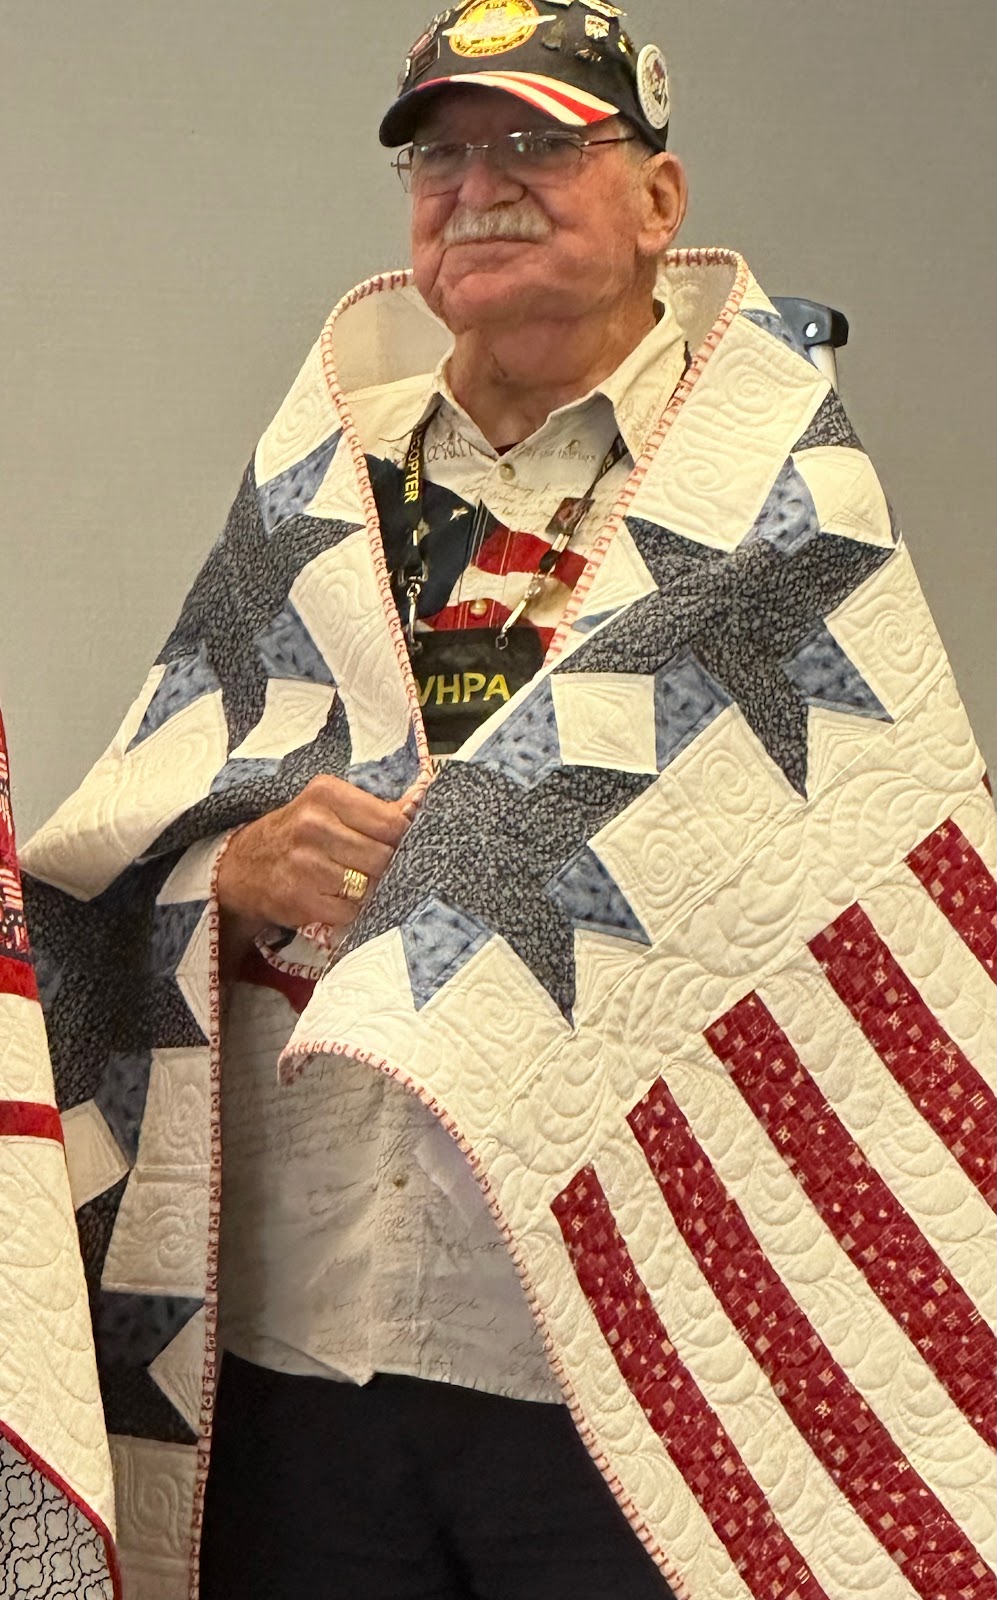
In fact I am already, tasked with quilting more QOV’s-Quilts f Valor- for our military heroes. These two are for the VHPA-Vietnam Helicopter Pilots Association reunion in May. DH is a long-standing member of the organization as a retired helicopter and fixed wing pilot.
One done and one more to go. I typically custom quilt QOV’s especially when there are wide open spaces like this. The feather wreaths are always impressive and are fast and easy to quilt. I have also become a fan of ruler quilting, I think it’s a nice contrast to the detailed feathers.
The simple one color backing shows off the detailed quilting.
The second is very different and I am still deciding how I will quilt it.
Maybe alternate a couple of different background fills in each star point and a different design in the white areas. I am thinking about it and hope to begin tomorrow after the gym. I will probably include some ruler work, it’s a good foil for the detailed designs.
This is my first week back at the gym since I went to Boston and got the Wuhan flu variant and double pneumonia, so I am still working back into my usual routine. It will take a few weeks I imagine, but my body is accustomed to being fit and that always makes it easier to come back.
Meantime our addition is coming along quickly now, the opening to the main house has been made so the move-in date is close, a couple of weeks at most I hope. When it’s finished it will appear as if it’s always been there rather than an obvious add-on. I will post a few photos next time so you can get an idea of the 700 sq.ft. space.


.jpeg)


